The Stickley
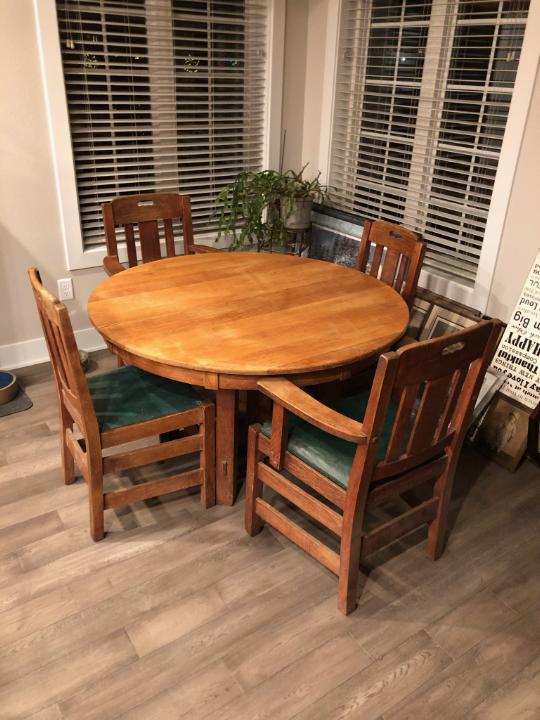
Before
After
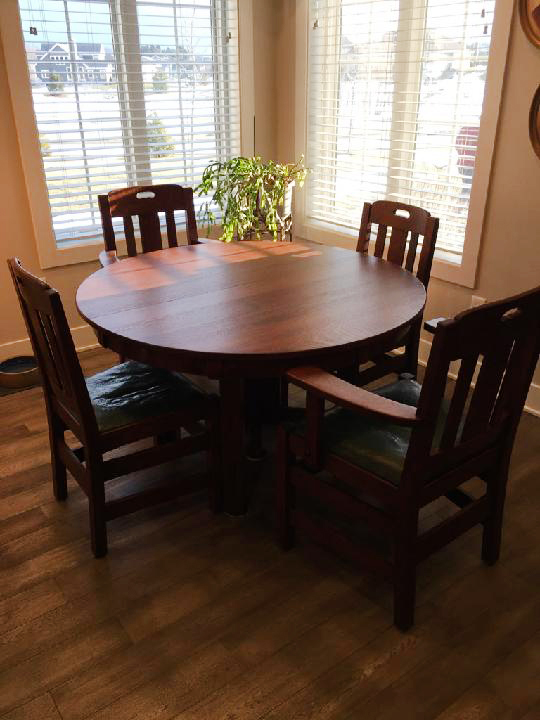
I am proud to announce that Family Heirloom Furniture Restoration had the privilege to restore this original 1910 “Mission Style” table and chairs manufactured in Grand Rapids, Michigan by the Stickley Furniture Company owned by Albert Stickley.
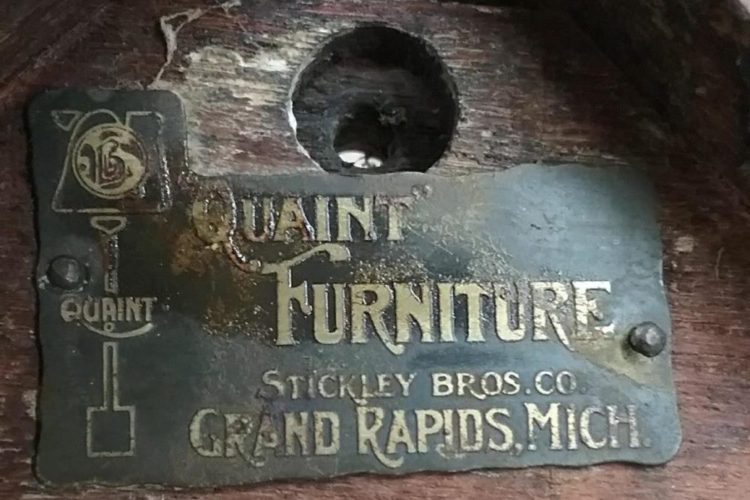
Authentication Tag
Stickley Brothers were American furniture makers from the late 19th and early 20th century. Much of their furniture is representative of the Arts and Crafts movement which advocated quality construction and simplicity of design.
The Road to Recovery
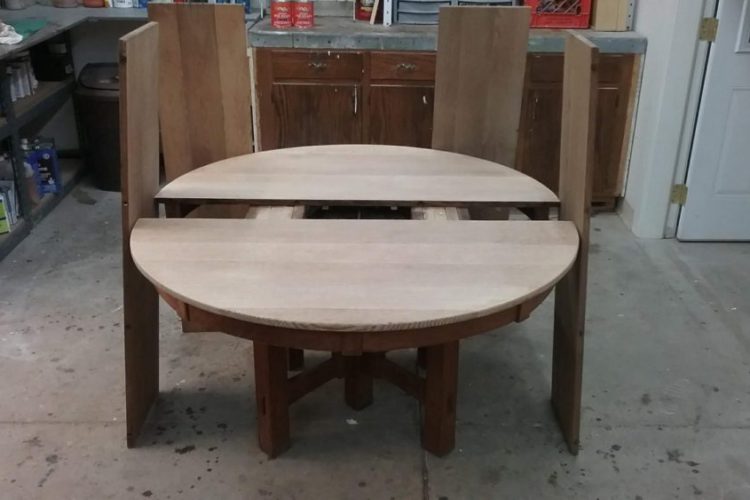
Sanded Top With Leaves
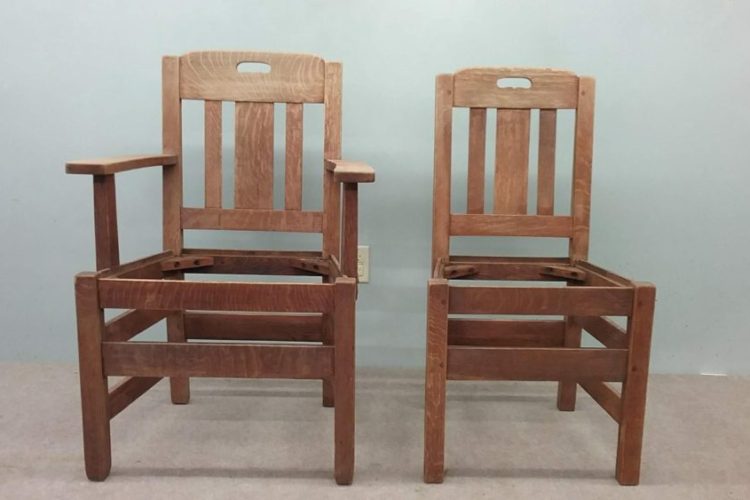
Sun Bleached
This dining room set was brought to me in structurally sound condition. The color was bleached out from the sun, in particular, the frontal areas of the chairs.The table top had been sanded through its original color and sealed with, possibly, tung oil. This was my nemesis. The protected areas underneath the chairs and table helped me determine the original color, along with my research on the web.
History acclaims, much of the Mission Style “oak” furniture was fumed with ammonia to achieve the desired color. The fuming process created brown tones, and the longer it was fumed the deeper or more saturated the color became. Dye stains were also used to achieve color. My gut tells me this dining set was stained because there was slight stain residue on the chair undersides.
Through my research, I determined the color to be “Onondaga #32,” a warm reddish brown color named after Onondaga County in the state of New York; the county in which Gustav Stickley lived since 1900. It was evidenced by looking at the chair and table undersides. I then went to work. To acquire the desired color and effect I used a mixture of two colors, both water-based dye stains from General Finishes. Half of my challenge was over. The biggest challenge was to match the table top with the chairs. I had to battle the tung oil that seeped deep into the pores, sealing the surface, and giving the wood a yellowish hue.
I was fortunate, the dining set had no build finish to contend with (varnish or lacquer), so I was able to “liven up” the old color without stripping first.
The restoration process was fundamental. First I washed everything to remove the dirt and gunk. Then I inspected for loose joints; there were none. A light buff-sanding to the chairs and table base and I was ready to go. As I stated earlier, the table top was my nemesis. I had to scrub the top with a brass wire brush and solvent. After the top dried, I scrubbed it with oxalic acid and pressure-washed it. Finally, I sanded it, hoping it would be ready to accept stain. The challenge now was to match the “white wood” of the top to the chairs and table base. This is where experience comes into play. I have one chance to get the color. I have nothing to practice on; only the finished product to work with. It’s a make or break situation. I changed the stain color ratio to compensate for the “white wood.” Also, the method of application changed. I let the stain sit longer and then dry brushed. It’s a one hit wonder, you either get it or you don’t. I got it. Yeah!
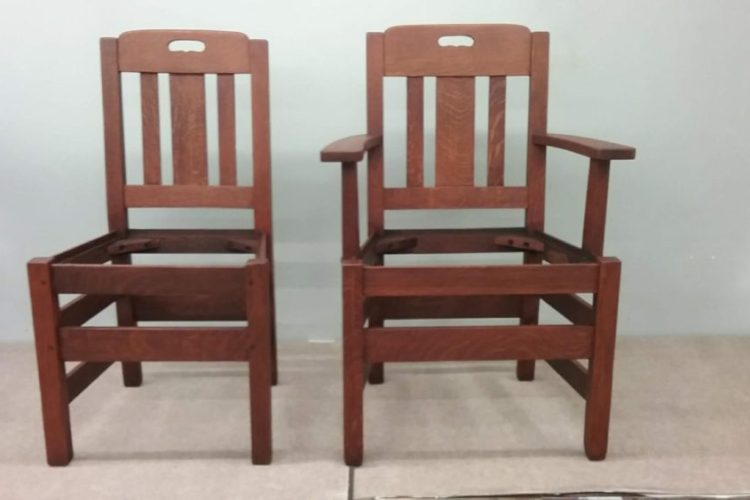
Freshly Stained
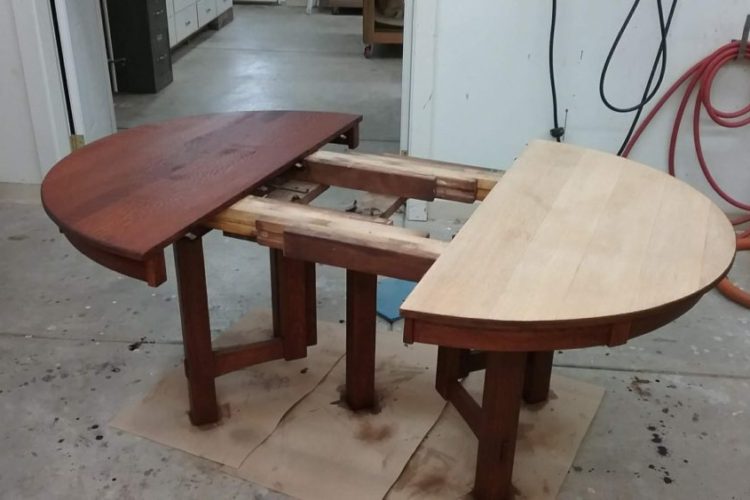
The Color Challenge
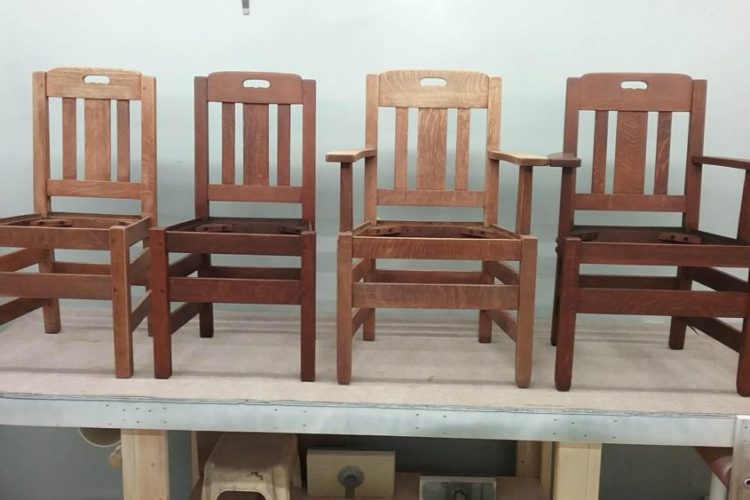
Compare and Contrast
(sun-bleached & freshly stained)